
If you have downloaded the official PNETLab OVA appliance and tried importing it into Proxmox VE 8, chances are you’ve encountered frustrating errors like “Hard Disk Not Found”, storage errors, or virtualization problems that prevent the virtual machine from booting.
I recently migrated PNETLab 4.2.10 to Proxmox VE and faced exactly these issues. After several troubleshooting steps, I finally got the VM running perfectly. This guide documents every problem, every command, and every solution so you don’t have to spend hours searching through forums.
The methods in this article are based on a real installation performed on Proxmox VE 8 and include actual terminal outputs together with the final working configuration. Current Proxmox migration guidance also recommends using the host CPU type for imported virtual machines to ensure maximum compatibility with hardware virtualization features.
Read more: How to Import PNETLab OVA into Proxmox VE 8 Successfully: Complete Step-by-Step Guide (Fix Hard Disk Not Found & Virtualization Issues)
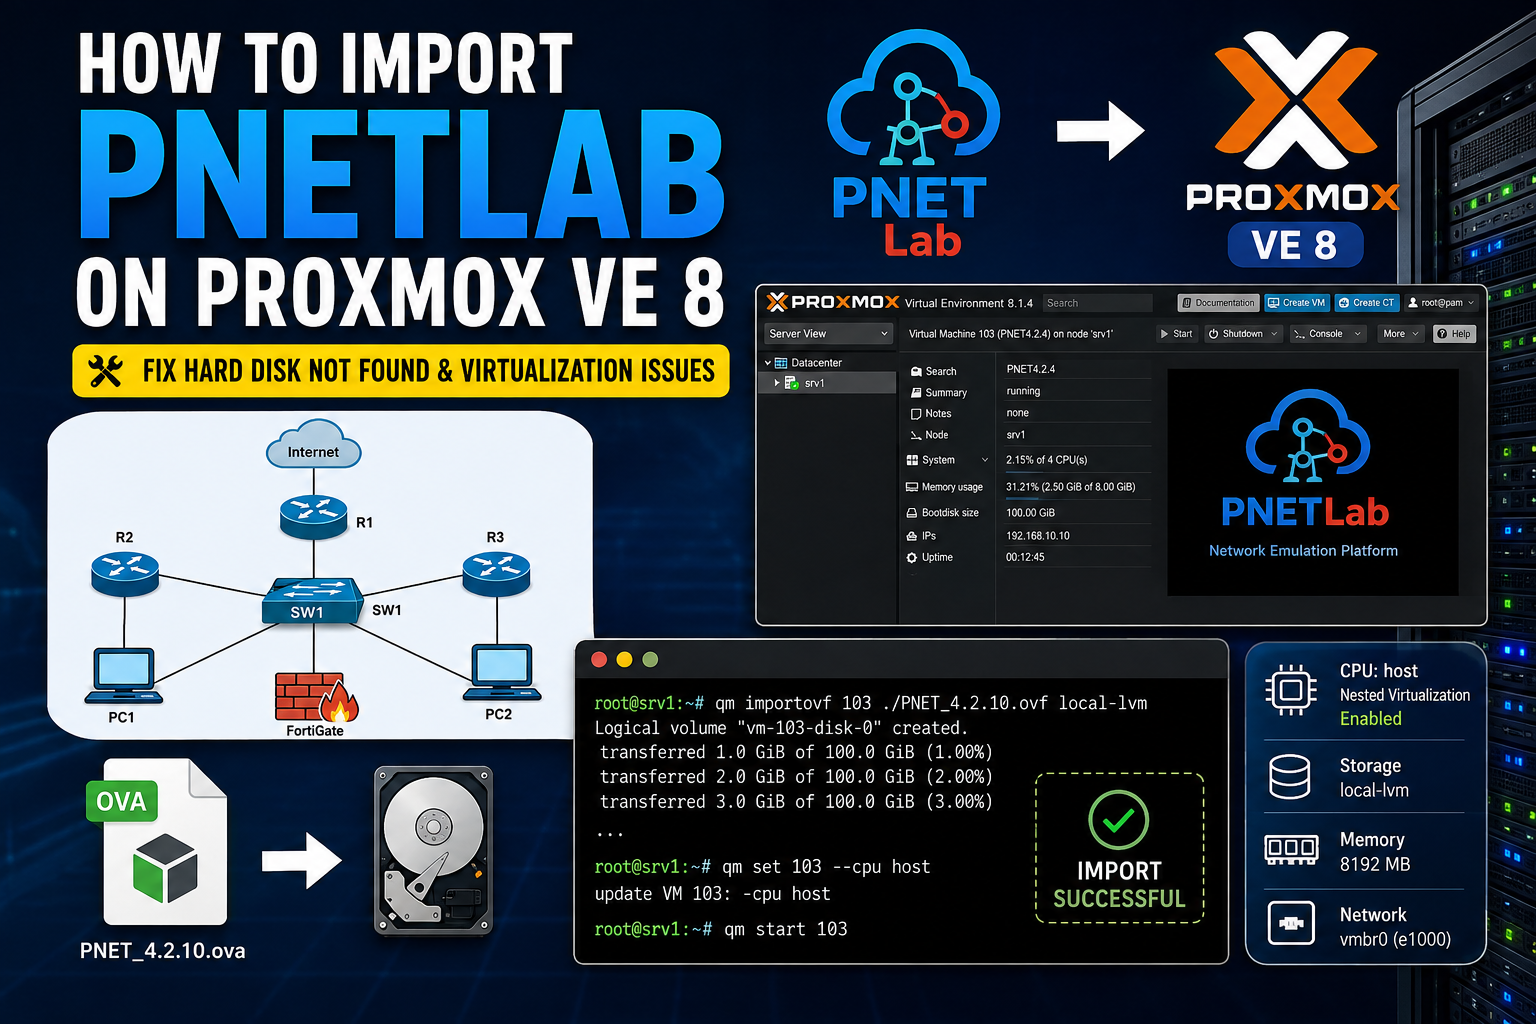
Why Import PNETLab into Proxmox?
PNETLab has become one of the most popular network emulation platforms for CCNA, CCNP, CCIE, VMware, Linux, Fortinet, Palo Alto, Cisco, Juniper, MikroTik, and cloud networking labs. While VMware ESXi remains a common deployment option, many administrators are now migrating to Proxmox VE because it is open source, lightweight, enterprise-ready, and does not require expensive licensing.
The challenge is that the official PNETLab download is distributed as an OVA appliance intended primarily for VMware environments. Importing this appliance into Proxmox is not always straightforward. During my migration, the process initially failed due to a storage selection mistake, followed by what appeared to be a missing virtual disk problem, and finally the imported virtual machine would not boot correctly because of CPU virtualization compatibility. These are common migration issues when moving VMware-based virtual appliances to KVM/Proxmox, and current Proxmox migration guidance recommends adjusting CPU type and verifying storage mappings after import.
Fortunately, once these issues are understood, the solution is surprisingly simple.
System Requirements
Hardware Requirements
| Component | Recommended |
|---|---|
| CPU | Intel VT-x or AMD-V with virtualization enabled |
| RAM | 16 GB minimum (32 GB recommended) |
| Storage | SSD with 100 GB or more |
| Network | Gigabit Ethernet |
| Proxmox Version | Proxmox VE 8.x |
Software Requirements
- Proxmox VE 8
- PNETLab 4.2.10 OVA
- SSH access to Proxmox
- Root privileges
Step 1 – Upload the PNETLab OVA
First, upload the downloaded OVA file to your Proxmox server.
Example:
scp PNET_4.2.10.ova root@proxmox:/root/After uploading, verify the files.
ls -lhExample output:
PNET_4.2.10-disk1.vmdk
PNET_4.2.10.mf
PNET_4.2.10.ova
PNET_4.2.10.ovf
pnetlab.qcow2
If your OVA has not yet been extracted, you can extract it with:
tar -xvf PNET_4.2.10.ovaStep 2 – Import the OVF into Proxmox
Initially, I attempted the following command:
qm importovf 103 ./PNET_4.2.10.ovf sata_ssdUnfortunately, Proxmox returned:
storage 'sata_ssd' does not existThe error was straightforward—the storage name did not exist on my server.
Checking available storage solved the mystery:
pvesm statusOutput:
Name         Type
local
local-lvm
The correct storage was local-lvm.
I reran the command:
qm importovf 103 ./PNET_4.2.10.ovf local-lvmThis time the import started successfully.
Example:
Logical volume "vm-103-disk-0" created.

transferred 1 GiB
transferred 2 GiB
transferred 3 GiB
...
The VM disk was successfully imported into Proxmox.
Step 3 – Verify VM Configuration
After importing, check the VM configuration.
qm config 103Output:
boot: order=scsi0
cores: 4
memory: 8192
name: PNET4.2.4
net0: e1000
scsi0: local-lvm:vm-103-disk-0
The important thing to verify is:
scsi0: local-lvm:vm-103-disk-0This confirms the imported disk is attached correctly.
Step 4 – Fix the Virtualization Problem
Although the import completed successfully, the VM still would not boot correctly.
The cause was the CPU model.
By default, Proxmox may assign a generic CPU model that does not expose all virtualization extensions required by PNETLab. Since PNETLab itself runs nested virtual machines such as Cisco routers, FortiGate firewalls, Palo Alto, VMware images, Linux servers, and many other appliances, hardware virtualization support is extremely important. Current Proxmox migration documentation also recommends selecting CPU Type = host for imported virtual machines that rely on virtualization features.
The fix was simple:
qm set 103 --cpu hostAfter applying the change:
qm config 103Output:
cpu: hostThat single modification solved the virtualization issue.
Step 5 – Start the Virtual Machine
After changing the CPU type:
qm start 103The PNETLab server booted successfully.
I was then able to access the web interface normally.
Understanding the Serial Interface Error
At one point I executed:
qm terminal 103The result was:
unable to find a serial interfaceThis message is not an import failure.
It simply means the virtual machine does not have a serial console configured. Since PNETLab uses a graphical console during boot, this message can safely be ignored. If desired, you can later add a serial device through the Proxmox GUI or CLI, but it is not required for normal PNETLab operation.
Common Errors and Their Solutions
| Error | Cause | Solution |
|---|---|---|
| Hard Disk Not Found | OVF cannot locate VMDK | Ensure VMDK is in the same directory as the OVF |
| Storage does not exist | Wrong storage ID | Check pvesm status |
| VM won’t boot | CPU incompatibility | qm set <vmid> --cpu host |
| No serial interface | No serial port configured | Safe to ignore |
| Import fails | Corrupt OVA | Re-download the appliance |
Commands Used During Installation
ls -lh

pvesm status

qm importovf 103 ./PNET_4.2.10.ovf local-lvm

qm config 103

qm set 103 --cpu host

qm start 103
These were the only commands ultimately required to complete the migration successfully.
Best Practices After Installation
Once PNETLab is running, spend a few minutes optimizing the virtual machine before building labs. Allocate enough RAM and CPU cores for your expected workload, store the virtual disks on SSD or NVMe storage whenever possible, and take a clean snapshot before importing additional network appliance images. If your host supports it, ensure virtualization extensions are enabled in the BIOS/UEFI so nested virtualization performs as expected.
It is also a good idea to install the QEMU Guest Agent inside supported guest operating systems when applicable, as Proxmox recommends this for improved VM management, graceful shutdowns, and better reporting of guest information. While the PNETLab appliance itself focuses on network emulation, following these Proxmox best practices makes the overall environment easier to maintain and troubleshoot.
Conclusion
Migrating the PNETLab OVA to Proxmox VE 8 turned out to be much easier once the root causes were identified. The first issue was an incorrect storage name, which prevented the import command from locating a valid destination. After selecting local-lvm, the OVF imported successfully and attached the virtual disk correctly. The remaining obstacle was CPU virtualization compatibility, which was resolved by setting the virtual machine CPU type to host.
If you encounter similar errors such as “storage does not exist,” “hard disk not found,” or virtualization-related boot failures, follow the commands and verification steps shown in this guide. They reflect a real-world migration that resulted in a fully functional PNETLab instance running on Proxmox VE.
Frequently Asked Questions
1. Can I import a PNETLab OVA directly into Proxmox?
Yes. Use the qm importovf command and specify a valid Proxmox storage such as local-lvm.
2. Why does Proxmox say “storage does not exist”?
The storage name you supplied does not match any configured storage. Run pvesm status to list valid storage IDs.
3. Why does PNETLab fail to boot after import?
One common reason is the CPU model. Setting the VM CPU to host exposes the host’s virtualization features and often resolves boot or nested virtualization issues.
4. Is the “unable to find a serial interface” error serious?
No. It only indicates that no serial console is configured. It does not prevent PNETLab from running.
5. Is Proxmox better than VMware for PNETLab?
For many home labs and enterprise environments, Proxmox offers an excellent combination of performance, flexibility, and cost-effectiveness. It supports KVM virtualization, snapshots, clustering, backups, and advanced storage features without requiring expensive licensing, making it an attractive platform for running PNETLab.